Tools
Level
Hand tamper or compactor (can be rented)
Inch PVC pipes in the length or width of your patio
2×4 boards
Hose and water
Rubber mallet
Shovel/spade
Screed board
String line
Wheel Barrow
Blower
Supplies
Base material
Bedding course
Polymeric sand
Pavers
Paver edge rail
10 inch spikes
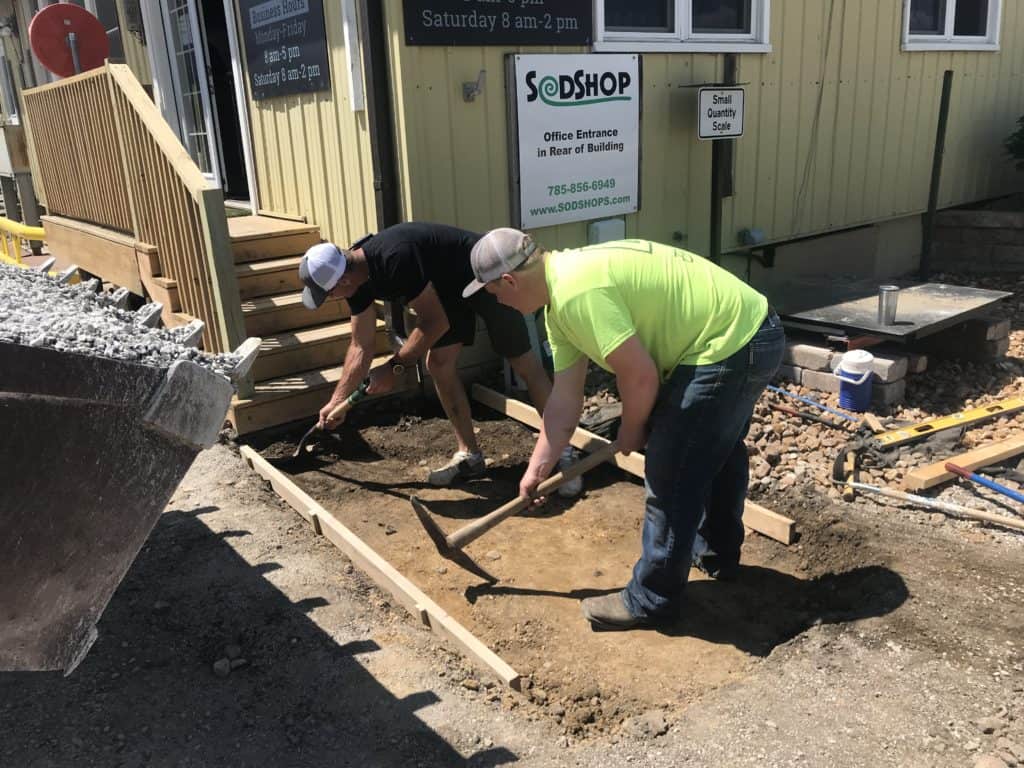
- Excavate your patio area
Remove native soil to a depth that is associated with the requirements of your patio plan and site conditions. For instance, if you have a soil that drains well and a patio that will have very little traffic you may excavate as little as 6-8”. If you have poorly draining soil and your patio will have heavy traffic you may need to excavate up to 16 plus inches. You need to excavate a larger area than your finished patio dimensions. For instance if you excavated a depth of 8” then you will need to excavate 8” wider than your finished patio dimensions on all sides, if you excavated 16” depth you will need to excavate 16” wider than your finished patio dimensions on all sides. When your patio is complete, the pavers should be slightly above or level with the grass.

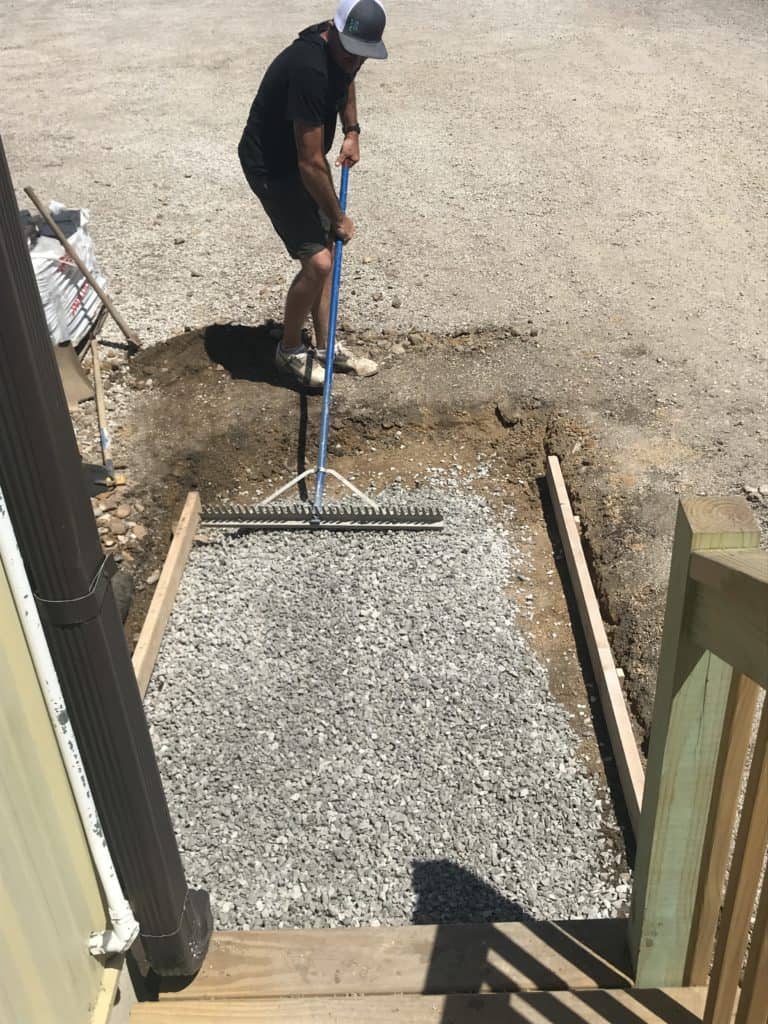
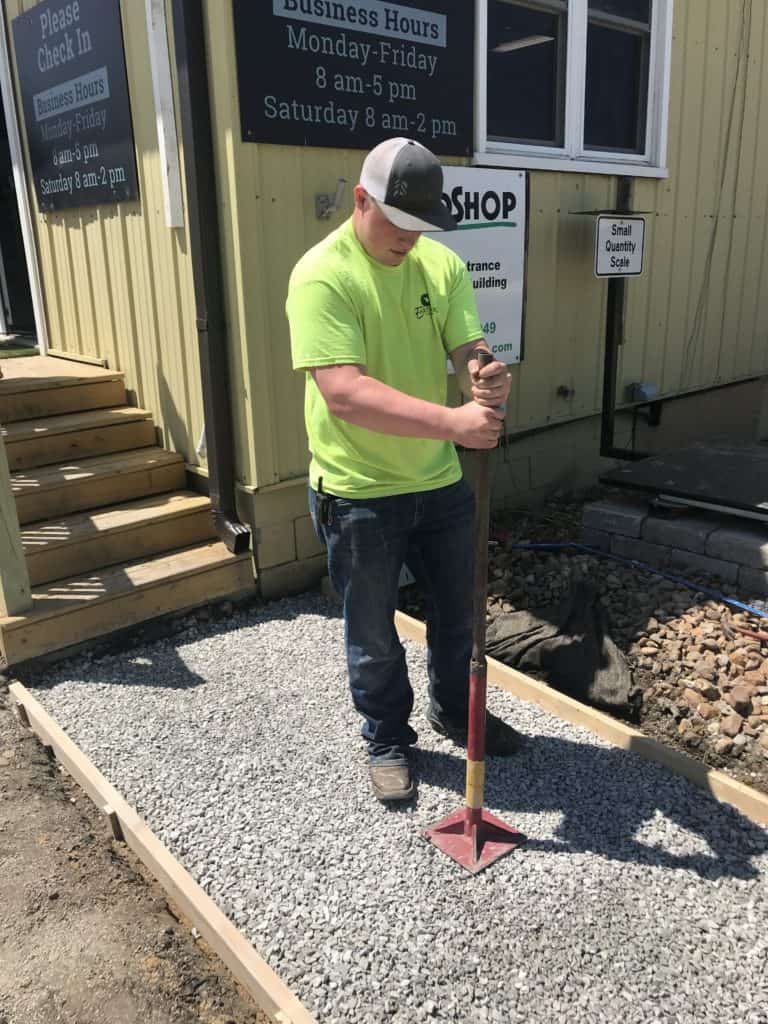
- Install and compact your base material
Now is the time for your gravel base. Depending on site conditions you may want to consider installing a filter fabric prior to any base installation. This fabric is used in some applications to inhibit base material from migrating into native soil. Determine what product you would like to use as base either (AB3 or ¾” wash) and install it in 2” increments. Install 2” and compact with compactor, and repeat until desired height is reached.
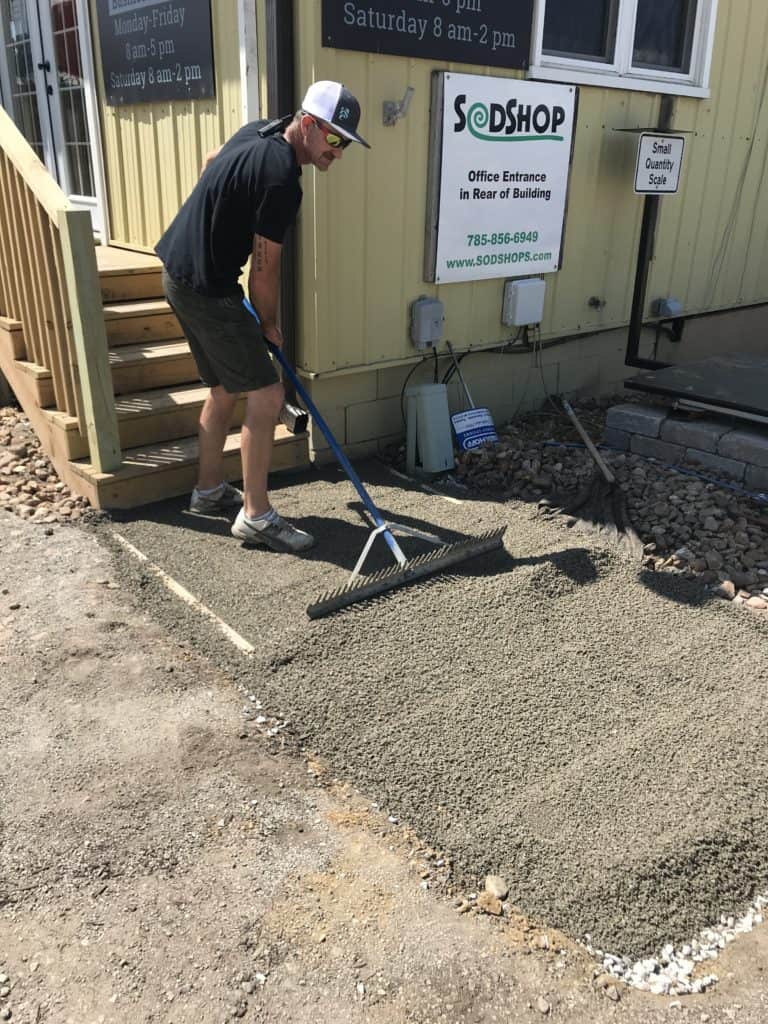
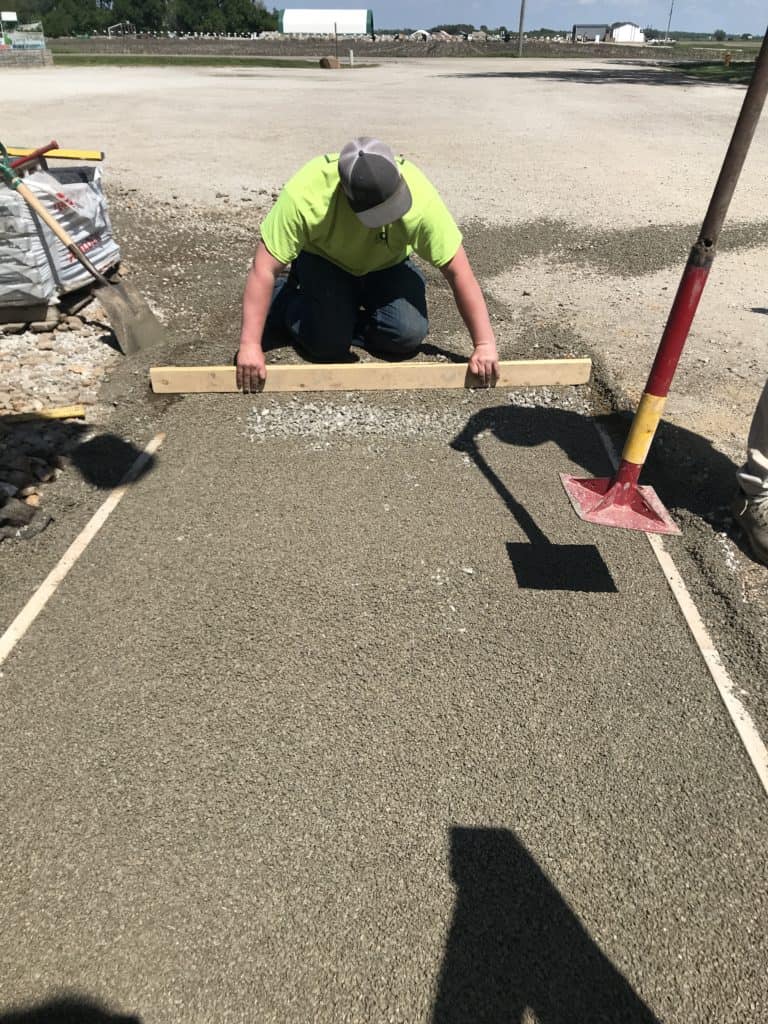
- Install bedding course
Lay down pipes parallel to each other on top of the compacted base material and install the bedding course over the base material. Screed the bedding course using a 2×4 supported by the pipes. Once level, remove the pipes and fill bedding course in their space.
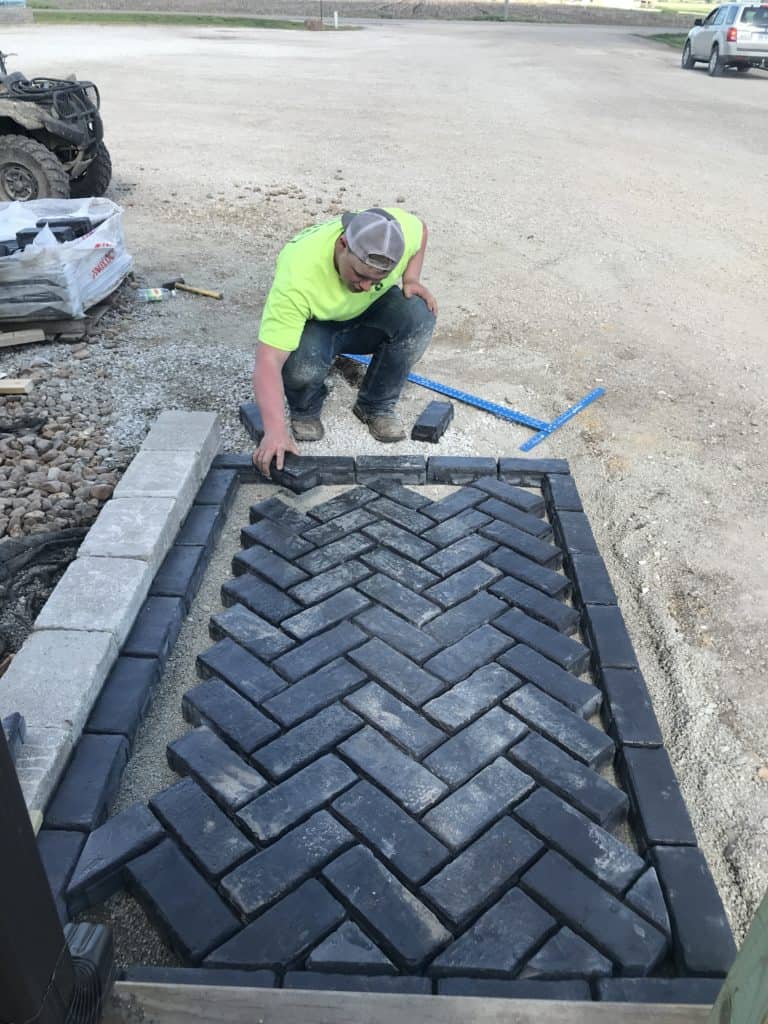
- Install pavers
Start along an edge and line up the joints of the pavers as tightly as possible. Follow the pattern that came with your pavers and periodically check that lines are straight and that top of pavers are level. Add leveling agent as needed.
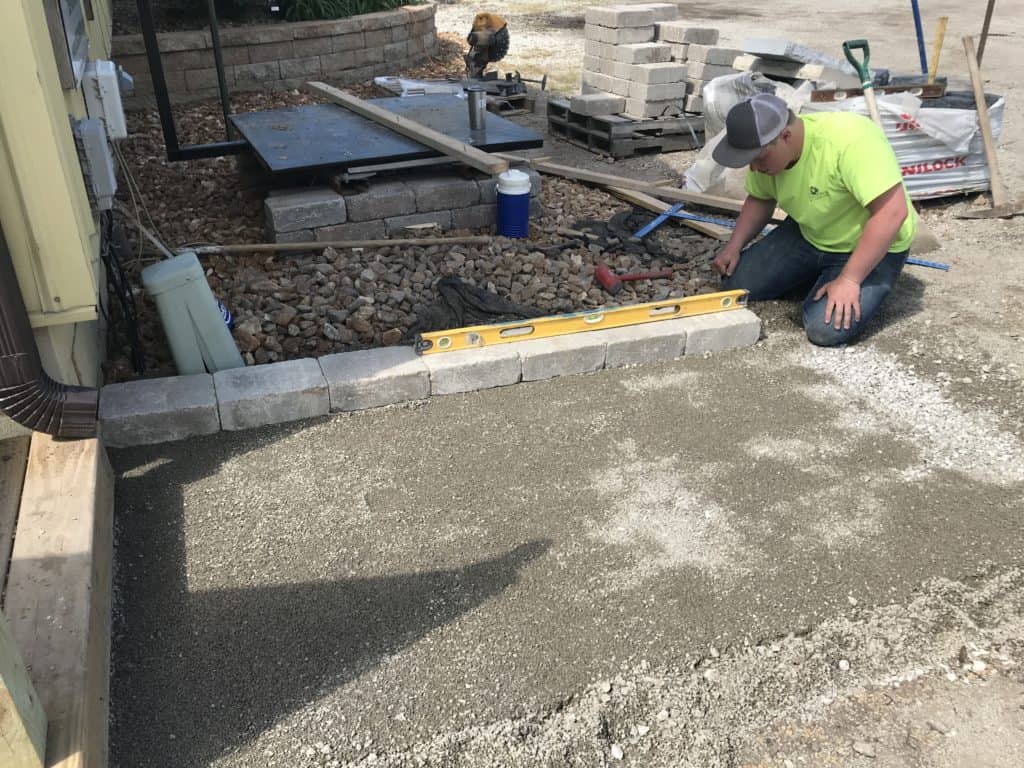
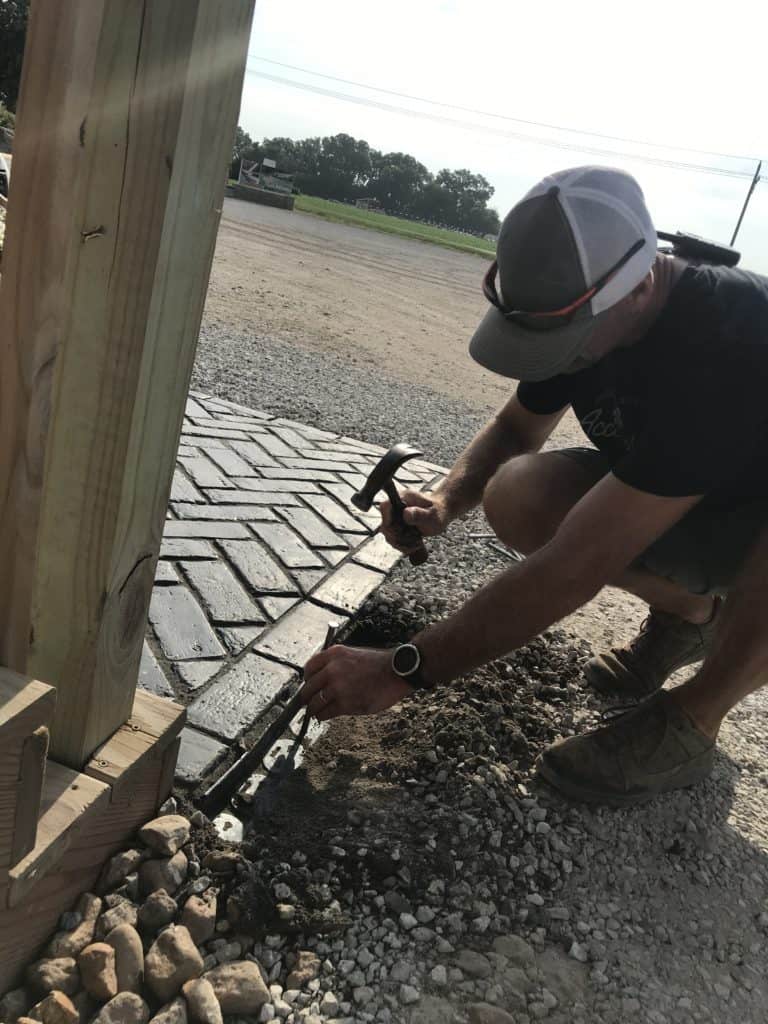
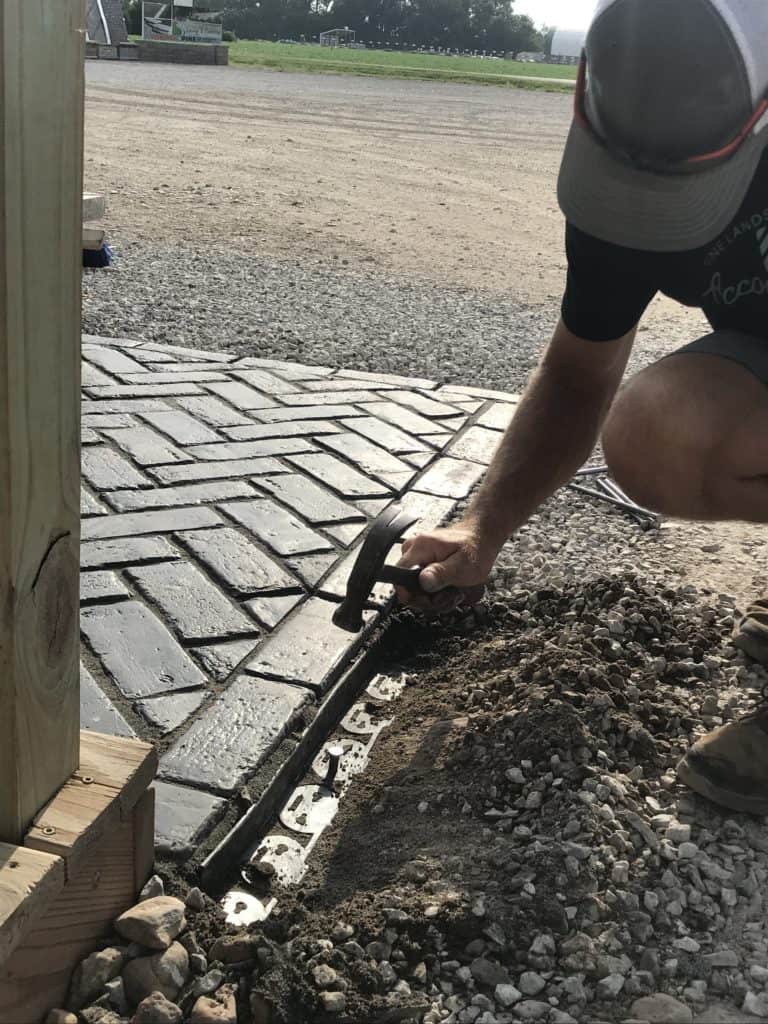
- Install paver rail
If the border of your pavers matches where the design indicated they should be, install paver rail as tightly as possible to paver edge and drive spikes in approximately one every foot. If pavers are not where design indicated, now is the time to mark the desired border, remove pavers, cut them, reinstall, and then install rail in the same manner as outlined above.
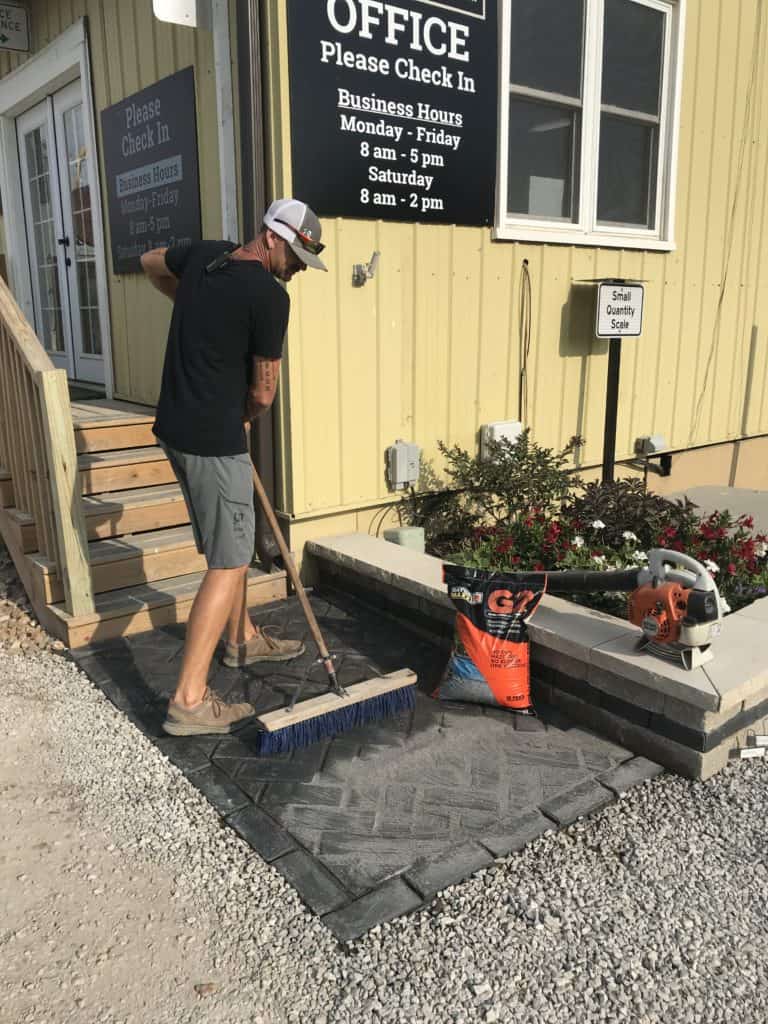
- Pour in polymeric sand
Use a blower to make sure the patio is clean and dry. Many manufacturers and products have different installation instructions for polymeric sand. Follow manufacturer instructions for the specific product that’s being used.

- Relax and enjoy
We recommend putting on some music (James Taylor’s always a good choice), grabbing a favorite drink (we’re partial to fruity summer drinks), and surrounding yourself with family and friends (simply the best!).